Tools Used:
Unreal Engine, Blender, Houdini, Photoshop, Squarespace, Logic Pro, Postshot, Premiere Pro, Reality Capture, Lots of Stable Diffusion models, Touch Designer.
*I’d like to give a special thank you to OBS Studio for quietly working away beind the scenes to make my life difficult.
HIERARCHIES
Using the extra objects addon, I then added a wall factory. I then randomized and bevelled this. I used a spiral curve for the raught iron balustrade, and a simple deform for the tower. I arrayed a plane for the roof and rotated it. I employed similar techniques to model a torch. I modelled a robot arm then parented the parts together. For the hydraulics, I tracked the cylinders and used empties to avoid any glitching. I mirrored the pincer and chose the base geometry as the centre. To pick up the stone, I added a child of constraint and set the target and influence. To release it, I set a keyframe then applied the visual transforms before turning the influence off.
RIGGING
I added bones from my skeleton, taking extra care around the hands. I extruded a hand bone up, then used alt p to remove its parent, then ctrl r to rotate it. I added an IK constraint, then used ctrl p to parent it to my chest bone. I did the same for the foot. I added another bone in front of the knee, and set it to control the leg rotation. I did the same for the elbow. I disabled deform on each of my control bones and symtricalised, but when I tried to apply the weights I got an error. I parented it together manually, but couldn’t even mirror the weight painting. There was clearly something wrong with the mesh. I tried making a block monster, I then tried remeshing and applying visual transforms. The result was hideous, but i thought it would be fun to animate none the less.
ANIMATION
I modelled then rigged a jellyfish. I used bendy bones, and a particle effect for the tentacles. For the animation, I used a modifier to simulate floating. I couldn’t find a reference for this, but I thought the big jellyfish should swim away leaving the small chubby one to keep up. For the abomination, I knew that the weird geometry would make its movements uncanny, so I decided to lean into this. I thought it could move like something out of Pans Labyrinth. Both the faun and the monster (played by the same guy) twitched their heads and wiggled their fingers, with slow movements punctuated by sudden jerks. I also tried to show the weight of the stone as it exchanges hands. Less successfully, I tried to make the jellyfish animation loop. I tried to find the moment in the modifier that looped and export out that section. It took a goods night sleep to realise I just need to place keyframes and began and ended the same
MATERIALS
For the jellyfish, I mixed a transparent, emissive material with a noise texture. I then animated the rotation to create a wobble effect. For the abomination, there was this strange eyebrown thing left after I merged the meshes. I kind of liked it so decide to use it, merging it with the emissive material. I planned on rendering the animation in unreal where I would add the looping jellyfish. This turned out to be a little too complicated when the time came. I used a few free plugins for the finishing touches. I used sancus material library for the stone material, I also used some decals to the robot, combined with my own. I used dynamic skys, combined with some point lights for the lighting. I used bio-reader to add some grass. I wanted to used fire and flames fx, but it only works in Eeve. As this is the first animation I’ve rendered from blender, I thought I’d try both Eeve and cycles to compare the results.
LIVING ROOM


CONCLUSION
I really enjoyed the process of creating my living room. Rendering from Blender instead of Unreal definetly put me out of my depth, but it also presented more oppitunities to learn. If I was to repeat the process, I would have modelled the monstrosity myself as this would have ultimately spead up the process and created less unwieldy mesh

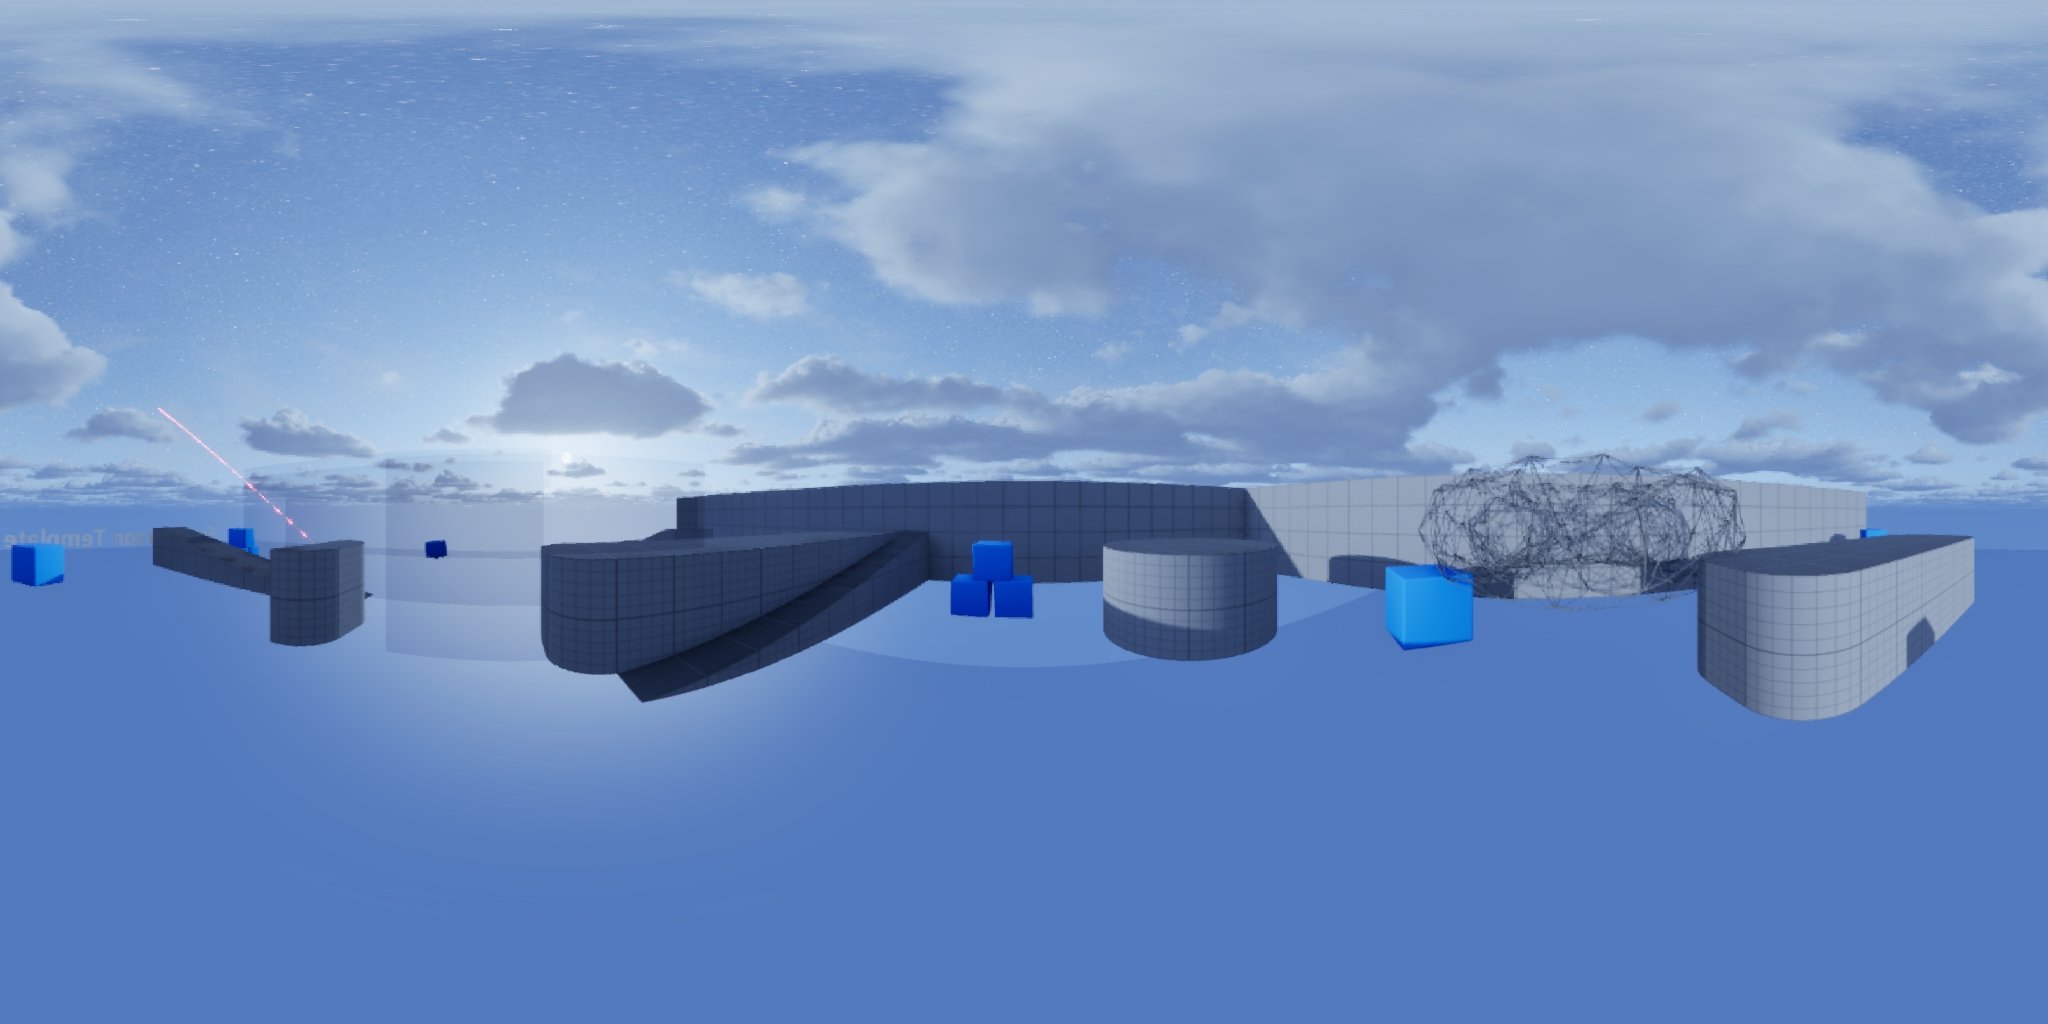
SANDBOX
To pick up and move a cube, I created a linetrace. I used an interface to communicate with the cube blueprint. I used a physics handle, and added an input for it in my interface. I got this physics handle from my first-person character, where I was calling the event. To release the grabbed object, I first checked to see if the player had something in their hands, if this was valid then I released the component. To snap the objects to a grid, I rounded their location to the nearest 100. I used the same logic for the rotation. I wanted to replace the linetrace with a Niagara system. I used the beam template and adjusted it’s settings. I thought I could use world location and forward vector for the beam start/end but this didn’t really work.
SIMULATIONS
I modelled my level in blender, I thought my cube should be placed somewhere ceremonial so I opted for a temple. In Unreal, put myself through hell getting halfway through one of the more complicated and outdated tutorials I have followed. I needed to access the custom position attribute created in Houdini, so I used a scratpad, however I couldn’t access the output parameter from my Niagara system. Looking in the comments I found someone with a similar problem, likely caused from some update since ue4. I had been able to overcome other hurdles, but now I was stumped. Then I remembered I was working too hard; they gave access to the project files in the video description. I migrated the blueprints over, I still followed the tutorial though as I would need to tweak the settings. I added steps and exported back to Houdini. I added this to the water flow simulation. Some particles were falling through the geometry, so I blocked off these holes. I swapped the sprite renderer for mesh, and enabled colour. I then programmed the system to activate once the cube is dropped inside
PROCEDURAL
I created a heightfield mask and chose the Manhatten cellular as my noise type. I then slumped and eroded my terrain. I exported this along with the flow map for the material. In Unreal, I used a spatial noise node to replicate the patchyness of grass. I then scaled by density to make the middle of each patch taller. For the tress, I filter down the spatial noise some more, and added attribute noise to re-roll my points and filter them down some more. I inverted this for the smaller tress, then added bushes around with a distance node. For the flowers, I set a spatial noise to Caustic 2D because it looks windswept. For better optimization, I removed the grass where flowers grew using another distance node. I used splines to create clearings. I got the class then projected the spline onto my landscape, before using a difference node to remove anything on the interior. I did the same for the path. Finally, I added the landscape material.
PHOTOSCANNING

They say don’t air your dirty laundry in public, but it’s portable and the right size to photoscan. I took photos orbiting my subject, then took these into reality capture. I calculated my model, then simplified it and reprojected the textures. I optimized my waskbasket in Blender. I remeshed, applied a multires then shrink-wrapped it. I then subdivided a few times to bring back the detail. I unwrapped it, then chose my bake type. I only wanted to bake the colour, so I selected that. I then baked from selected to active. I added a shirt, and upon placement in the basket, I activated the soap.
CONCLUSION
I like PCG and find it really exciting to be able to create without the limitations of scale or detail. I have become quite comfortable with the Houdini and Unreal Engine procedural tools, however I would not feel confident creating something entirely from scratch. In the future, I would like to gain a deeper understanding of the method behind the process in an effort to move away from relying on tutorials.
SELF TAUGHT

I wanted to recreate this AI gallery, using the infographic made by its creator. The process involves capturing an HDRI, then painting over it with AI before reprojecting on the surroundings. For the reprojection, I used a light function. Using an HDRI as the texture, I created red green and blue spotlights. I later realised RGB lighting is possible in 5.5, so I enabled this. Using the first-person camera, I captured a 360-degree image, which I could reproject into the environment. I needed to render an Ambient Occlusion pass for the AI to paint over, this involved turning off lumen and creating a post process material. The HDRI looked wrong, so I tried to backtrack but I must have clicked the wrong button because CRASH… I made a new project
IMAGE GENERATION
AI has changed a lot in the last two years, so I decided to use stable diffusion instead of the recommended model. I used a Lora model made for HDRIs, combined with a control net to keep consistency with the render. Canny didn’t give the best results, so I downloaded scribble which worked a bit better. I used a separate AI tool to upscale the images. Playing with the near fade distance ensured only one light was visible at a time. The AI gallery was more trippy than my gallery, but as people had pointed out it was a little disorienting so I was happy. I figured out the proper way to render ambient occulion, which involves entering these consol variables instead of turning off lumen. Finally, I used photoshop to remove the seams.
PROCEDURAL GALLERY
I decided to use PCG for create the gallery. I added the exterior walls, using a difference node to line the exterior. I added the interior walls at right angles to one another. This results in quite a ridged layout, so I added custom incremental transform node which I created from the set point color in my engine folder. To specify room locations, I used a blueprint with tags which I set to remove the points, creating a second premiered for the exterior walls to line. For the door, I created a tag which spawns a door on any points it intersects with. I wanted to make the PCG interactive, for this I needed to get the point data from within the blueprint. I tried animating the points with a timeline, I also tried using a function to spawning static meshs above my PCG once it generates. In the end I used a simplified version of the logic to set the visibility of the instanced static meshes.
AI NPCs
I used the VarRes plugin and runtime audio importer plugin to create my NPC’s. I set up basic ChatGPT responses with the VarRes plugin. I set my character profile and chat histories, then transfered the response to audio with the Runtime Audio Importer. I then linked my ElevenLabs account and trained an AI model on my voice (i bet you didn't notice). I wanted to add animations but was stuck, so I took to discord. I asked how to stop my animation playing after the audio finished…. helpful. In the end I realised I could get the duration and plug it into a delay node. I thought I try using AI videos to create a 2D NPC using a different stable diffusion model and UI. I went with Comfy UI, and chose Wan 2.1 as seemed popular. After some deliberation I downloaded the folder, chose my stable diffusion file path and downloaded the UI manager. After downloading the models and VAEs the folder hit 56GB! I generated a video of me talking which I would sync up with the eleven labs AI replies.
AI GALLERY
I generated a fish, some grass and a gaussian splat of my washing basket. I added them to my scene, along with the point cloud I used for the splat. I also used the player position to set the intensity of a point light. As you approach the gallery, it appears in front of you. Placing the blueprints next to the NPC sets the AI’s personality, as well as the number of words it can speak. The light function also changes to match the AI’s personality. Fading the light intensity created the sort of effect that would work well in a horror game. The splat interacted weirdly with the Niagara system, but I still quite liked the effect

CONCLUSION
I feel that the AI gallery consists of lots of really exciting elements which don’t fit together amazingly well. I’m really glad I learnt Stable Diffusion, but it will probably be most useful as a simple image and video generator. The problem with projecting AI art into unreal is that once it’s imported into the project, it can’t be change. I wish there was a way to make the AI visuals interactive…
STREAM DIFFUSION
For the finale, I took yet another approach for integrating AI in my workflow. I downloaded touch diffusion, which lets you use stable diffusion from within Touch Designer. I used the free Off World Live plugin to capture my viewport, then ran a diffusion model on it. I then exported that data to a render target which I could add to my viewport or use as a material. The resolution of this was limited because I was using the free version of touch designer, so tried to crack it but couldn’t in the end. I wanted to be able to change prompts in game, so I used a switch and added a python expression to the parameter. I needed to use a plugin to pass data from unreal to touch designer, the problem was that the free ones are only the other way around. In the end I used the OCSToolset. I created an event for after committing the text, then sent the string to Touch Designer where I specified the actors name. I tried using an event to set the denoising level, but as it was a pulse it only set the value for a second. I used the send float function to send my characters position, which I used to set the denoising levels and alpha. The problem was that the string resets as the character enters the float collision box. I thought this was to do with the widget, so I reworked it, creating it at begin play and using a keyboard event to toggle its visibility. On event construct I got the class, then used a button to trigger the event. This didn’t work, and I realised it couldn’t be the widget as the same thing happened while using the example projects. I got in touch with the developer, who told me that it must be a bug, and he would fix it in the next update… nice.

FINALE
In the meantime, I thought I’d try a different approach. I made some music in Logic Pro. I went for a simple, repetitive best so that Touch Designer could detect the kick and snare. I then used the send float function to set the volume of the music from unreal, and I multiplied this to set the denoising of the visuals. I also swapped the light function with a multigate. Finally, I used another send float blueprint to set the alpha, then added the GPT responses to my widget.
PACKAGING
I couldn’t package my project. The Off World Live plugin doesn’t support packaging in the free version so this may have been the reason. In future projects, I plan to package projects earlier to ensure my plugins are compatible.


CONCLUSION
Hello it’s my actual voice again. In conclusion, I really enjoyed using the light functions, and I think combining them with PCG gives interesting possibilities to create gigantic environments in seconds. Whether these environments are any good is another question. Enshittification is the term used to describe the pattern in which online products and services decline in quality over time. (Think Quixel Bridge turning into Fab) maybe AI has also fallen victim to the same decline. Stable diffusion is a unique tool, and uniquely confusing to learn. Every tutorial uses a different model and interface, and some of them try to make you pay. Then using the free method results in these enormous file sizes. ElevanLabs was fun to play around with. Because I trained it on my own voice, it struggled to say the same words that I do. I think I’ll save my money and just learn to speak proply *Properly. OCSToolset is a better investment, and integrating the NPCs and AI visuals is really exciting. So will AI become enshittified? Idk. But I find the novelty exciting. Diving headfirst into new technologies has been challenging, but if AI takes over the world, I’ll be glad I learnt how to use it. So thanks for your help, thanks for watching and I’ll see youuuuu in the singularity. Bye
